Creating keyframe animations
In Kanzi you can create keyframe animations that:
- Animate the look and feel of a node by changing the values of properties that define the look and feel of that node. You can animate different property types:
- Float property types, where you can animate, for example, light intensity, or material color.
- Boolean property types, where you can animate, for example, values such as visibility when you map a property to the timeline values 0 and 1.
- Animate the position of a node by changing the values of properties that define the position of that node. For example, by animating the position you can make a menu appear from the side of your application, or a button bounce when the user clicks it.
You learn how to create this type of animation here.
To create keyframe animations using the Kanzi Engine API, see Creating animations and timelines using the Kanzi Engine API.
To create a keyframe animation:
- In the Project select or create a node you want to animate.
For example, create a Sphere node.
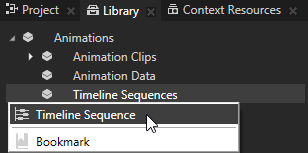
- In the Library press Alt and right-clickAnimations > Timeline Sequences and select Timeline Sequence.
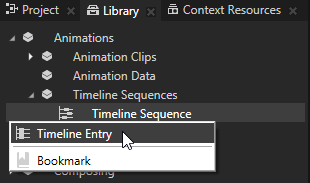
- In the Library press Alt and right-click the Timeline Sequence where you want to create a Timeline Entry and select Timeline Entry.
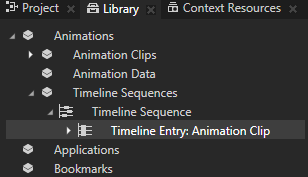
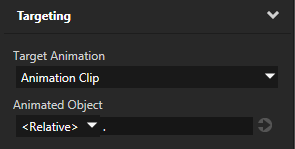
- In the Library > Animations > Timeline Sequences > Timeline Sequence select the Timeline Entry you created in the previous step and in the Properties set the Animated Object property to the node you want this animation to animate.
For example, use Relative paths and enter . to animate the node that starts the animation.
If you are using absolute paths in the timeline entries, in the Library select the timeline sequence and in the Properties set the Reference for Absolute Paths property. This property defines the reference for the absolute paths of animation targets in the timeline entries.
For efficient management of your animations, set each timeline entry to target only one node (or hierarchy with hierarchical animations using Animation Clip and Animation Child Clip resources).
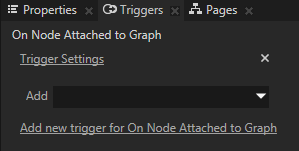
- In the Project select the node you are animating, in the Triggers click
 , and add the On Attached trigger.
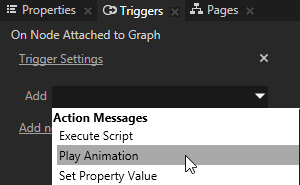
- In the Triggers click the drop-down menu, and select the Play Animation action.
The Message Editor opens.
-
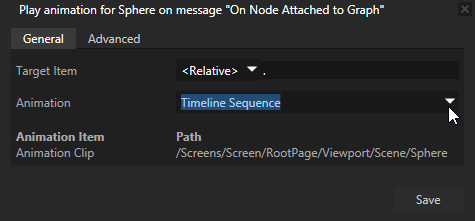
In the Message Editor set:
- Target Item to <Relative> and use
. for the path to animate the node that has the trigger.
- Animation to the Timeline Sequence that contains the Timeline Entry with the Animation Clip that animates your node.
- In the Library > Animations > Animation Clips double-click the Animation Clip of your keyframe animation.
The Animation Clip Editor opens.
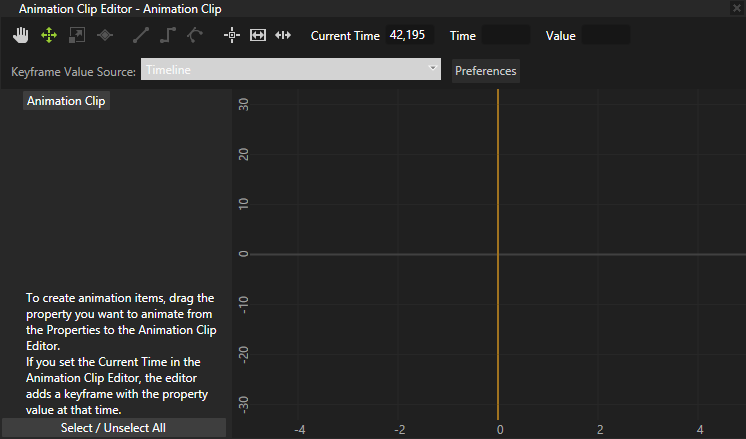
- In the Animation Clip Editor enter in the Current Time the time at which you want your animation to start.
For example, enter 0 to start the animation when the trigger that starts the animation is triggered. See Editing animation clips.

-
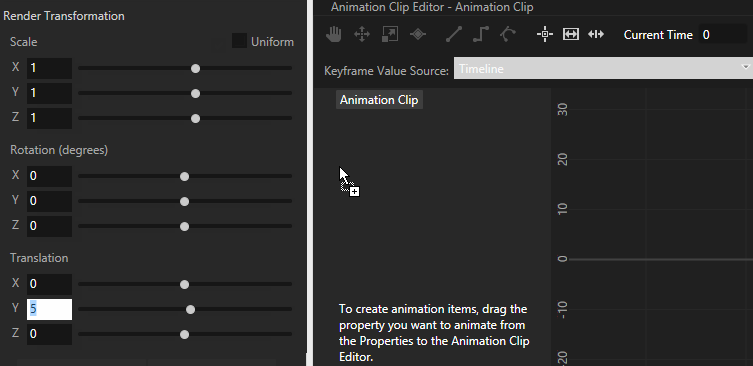
In the Project select the node the property values of which you want to animate, and from the Properties drag the property you want to animate to the Animation Clip Editor.
Kanzi Studio creates Animation Data for each property and property attribute, and adds a keyframe for each property and property attribute at the time you selected in the Current Time.
For example, add Render Transformation property and drag it to the Animation Clip Editor to animate the position of the node.
-
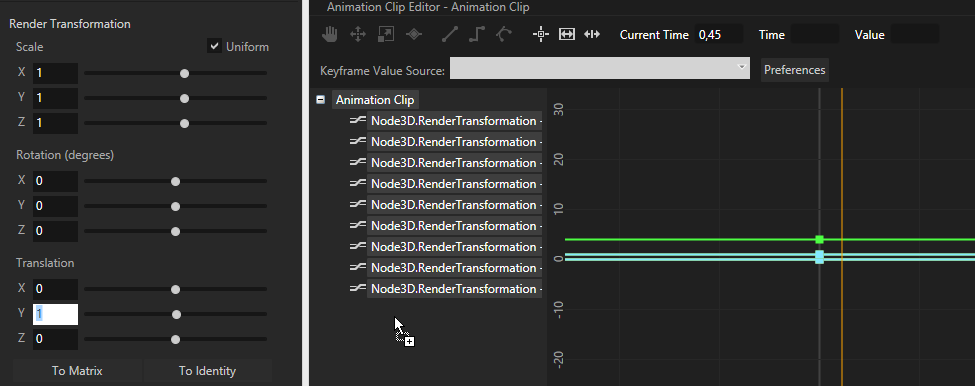
In the Properties change the value of the property you are animating, in the Animation Clip Editor enter in the Current Time the time at which you want to Kanzi Studio to create a keyframe with that property value, and drag the property from the Properties.
For example, change the Translation attribute of the Render Transformation property.
Kanzi Studio adds the new property values to the Animation Data.
- Repeat the previous three step as many times as you want to add keyframes to your animation.
- When you are done creating the animation Kanzi animates the node when it attaches it to the scene graph and runs the animation. You can set how many times you want to run the animation in the Timeline Sequence. See Animating a node for the duration of its lifetime.
Changing the interpolation mode between keyframes
You can change the transition mode between keyframes in your animations by using different interpolation types. In Kanzi you can use linear, step, and Bezier interpolation types.
To change the interpolation mode between keyframes:
- Double-click an Animation Data item or an Animation Clip to open it in the Animation Clip Editor.
- In the Animation Clip Editor use the Move tool
 to select two or more keyframes and then select the interpolation mode:
 Linear interpolation creates a linear transition between keyframe values.
 Step interpolation keeps the value of the current keyframe right until the next keyframe when its value is instantly taken into use.
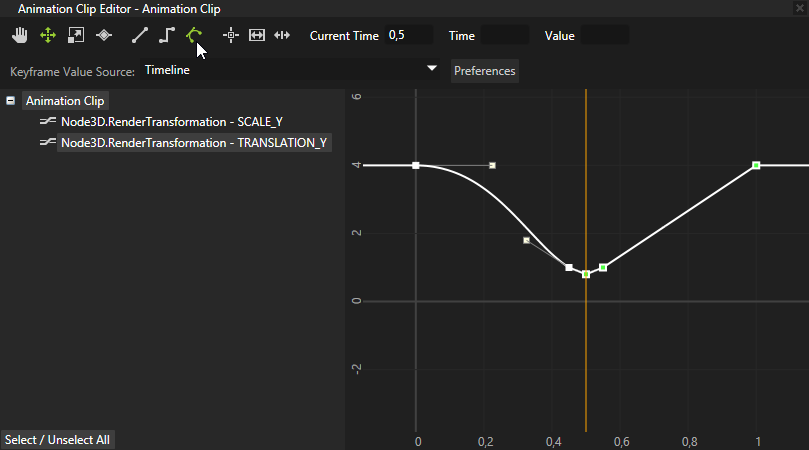
 Bezier interpolation interpolates the values between keyframes using the Bezier polynomial.
For example, to convert keyframes from linear to Bezier interpolation, use the Move tool to select the keyframes and click .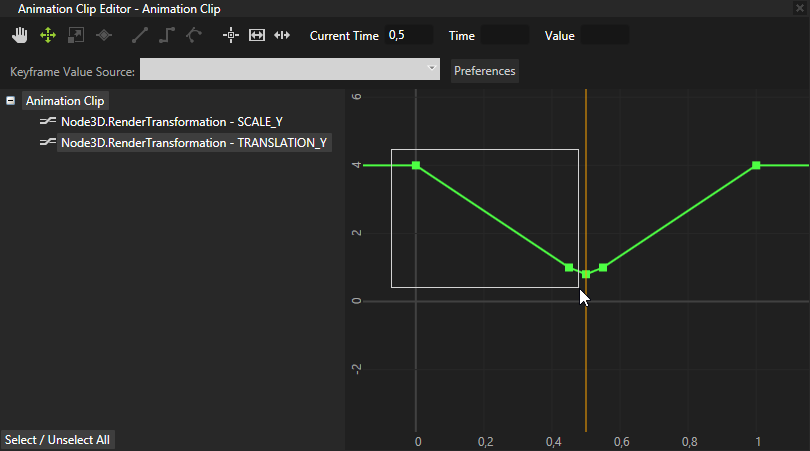
See also
Tutorial: Create keyframe animations
Creating animations and timelines using the Kanzi Engine API
Animating a node for the duration of its lifetime
Changing the interpolation mode between keyframes
Editing animation clips
Editing timeline sequences
Animations best practices
Animations

Open topic with navigation